
I’ve never been a fan of rich, dense desserts like cheesecake. Creamy desserts don't really do it for me. But, this recipe changed my perception of cheesecakes forever. I've heard it referred to as Japanese Souffle cheesecake, which is fitting.
The Japanese cheesecake is vastly different from the dense, rich texture that the title cheesecake typically evokes. I finally got the opportunity to attempt to bake this cake for the first time for my brother’s birthday in May (I know that’s a while ago, but in my defense, I baked this cake again this week, as soon as I got home from summer semester finals.)
The first time I baked this, I was pretty nervous. The idea of baking a pan floating on an inch of water using the bain marie sounded like a sure-fire way to drown all my hard-work and a bunch of ingredients within minutes. After delicately balancing the lined and double-wrapped cake-pan in the filled bain marie, I could only nervously check through the oven window every 3-5 minutes to make sure that the cake-pan wasn’t precariously tipped over on its side, the batter broiling in the water. To my ultimate relief and unmasked excitement, two hours later, a light, fluffy 8-inch cloud of moist, delicate goodness emerged from the oven. The Japanese Souffle Cheesecake was a huge hit with my family. You know something is good when your picky, carb-averted family prods you to bake the same thing four times in the span of three weeks. And finishes each cake within the hour... And are still not sick of said baked good.
This is my new go-to for fluffy, moist perfection. If the clouds of my childhood imagination tasted like anything, they would have tasted like this cheesecake. The cheesecake seems to taste better after a day in the fridge, as it helps the cake firm up, so I would recommend that you plan ahead and make the cake the day before. Without further ado, here’s the recipe!
Japanese Soufflé Cheesecake
Adapted from Dianna’s Desserts
Ingredients:
8 oz (250 g) cream cheese
4 Tablespoons (50g) butter
½ cup (100 ml) fresh milk
5/8 cup (60g) cake flour
1 + 1/3 Tablespoon (20g) corn flour
1 tbsp lemon juice + 1 tsp vanilla extract
6 egg yolks
6 egg whites
1/4 tsp cream of tartar
¾ cup (140g) castor sugar
Equipment: 8 inch cake-pan, parchment paper, aluminum foil, Bain marie, Hand mixer, Double boiler
1.) Preheat oven to 320oF. Line the bottom and sides of a 8 or 9 inch cakepan with parchment paper. Wrap exterior of the cakepan with a double-layer of aluminum foil.
2.) Melt butter, milk and cream cheese over a double boiler until it reaches a smooth consistency. Set aside to cool for about 5-10 minutes. I didn’t have a double boiler, so I placed an alternate pan (or you can use a metal bowl) over a pot of boiling water. If you do this, make sure the bottom of the pan does not contact the boiling water.
3.) Sift the cake flour and corn flour together.
4.) Add flour mixture, egg yolks, lemon juice and vanilla extract to cream cheese mixture.
5.) In a clean and dry bowl, whisk egg whites to soft peaks. Gradually add in sugar and whisk egg whites to stiff, glossy peaks.
6.) Lighten cream cheese mixture by gently incorporating 1/3 of the egg whites. You should use a rubber spatula and take care not to deflate the egg whites.
7.) Fold in the lightened cream cheese mixture in two or three parts to the egg whites.
8.) Pour batter into lined cakepan, smoothing the top with the spatula.
9.) Prepare a bain marie by filling a larger pan with enough water, so that the cakepan floats and is halfway immersed in water.
10.) Place bain marie in the pre-heated oven along with the cakepan. I also recommend lightly placing a layer of aluminum foil over the cakepan, to act as a shield lest the cake start browning too early.
11.) Bake in the water bath for 55 minutes to one hour.
12.) After baking, keep the oven door slightly ajar (stick something like an oven mitt or spatula in the door) for about 45 minutes to an hour. This is to help the cheesecake cool slowly.
13.) Cool at room temperature for at least half an hour.
14.) My family and I agree that the cheesecake improves in taste after a day in the refrigerator, but if you can’t restrain yourself, enjoy the cheesecake as soon as it has finished cooling in the oven :P.
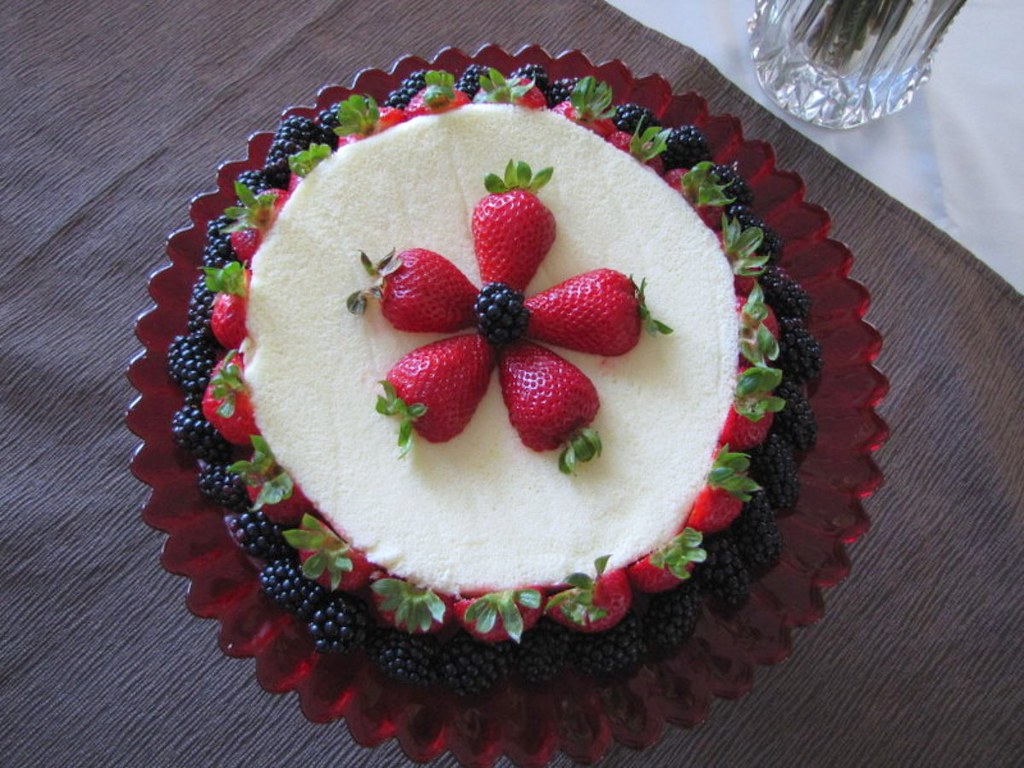
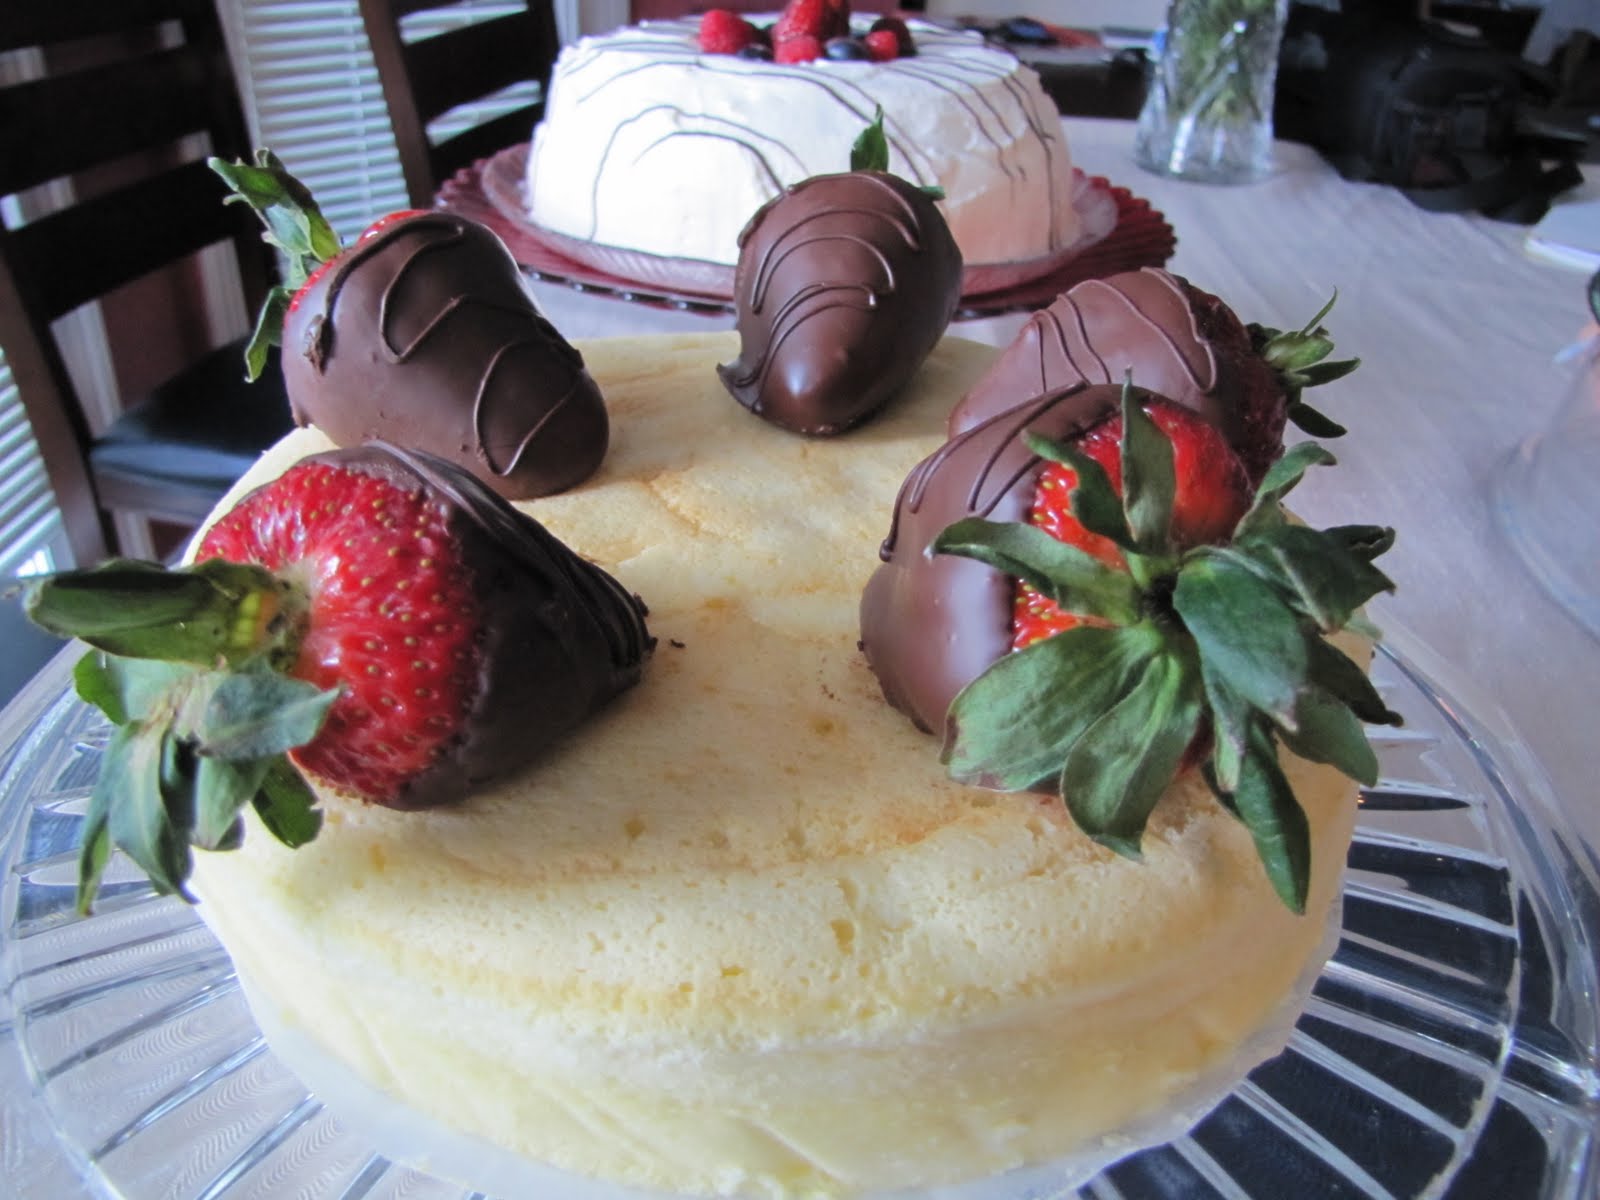
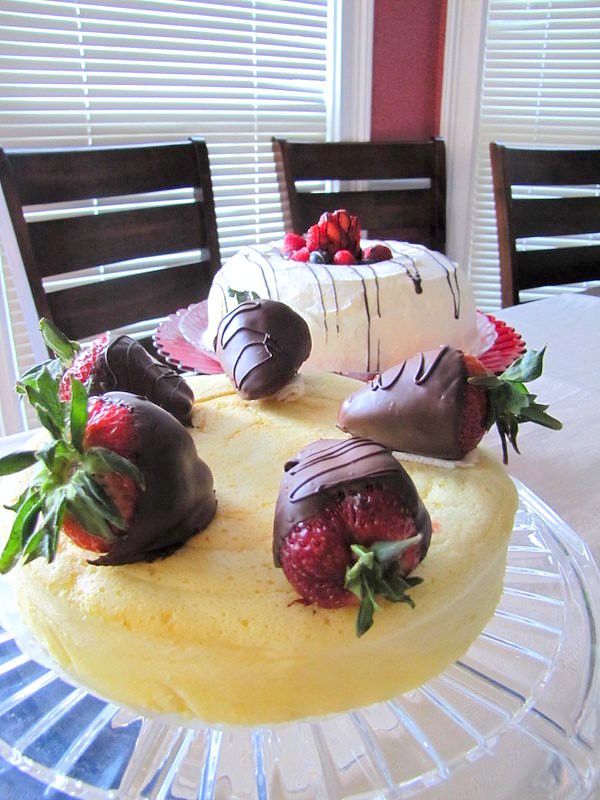
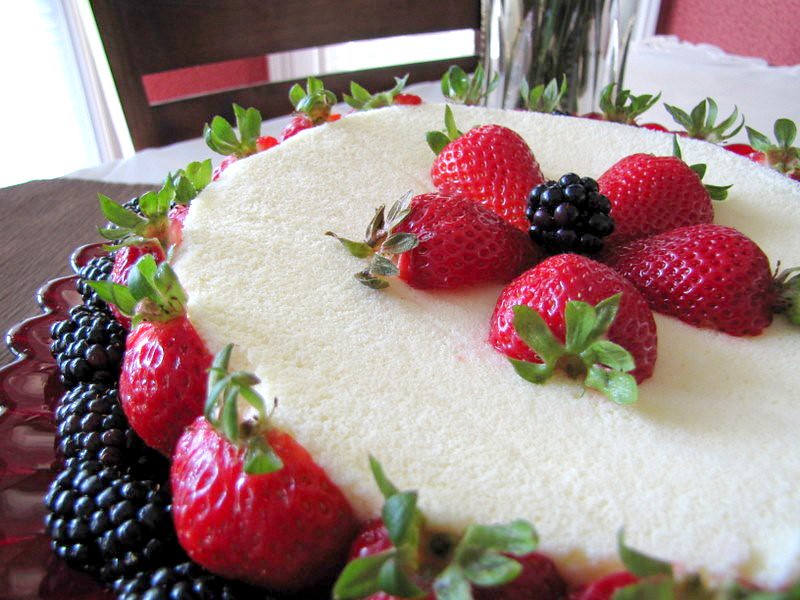
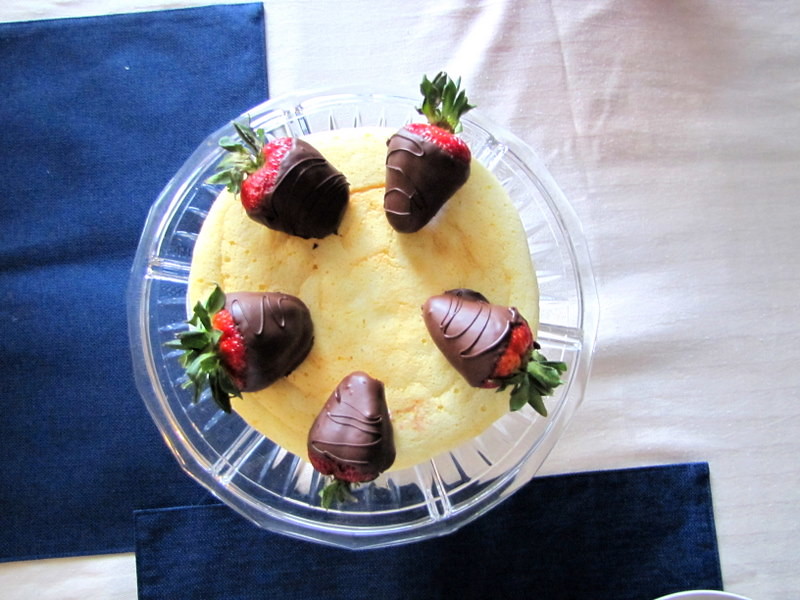
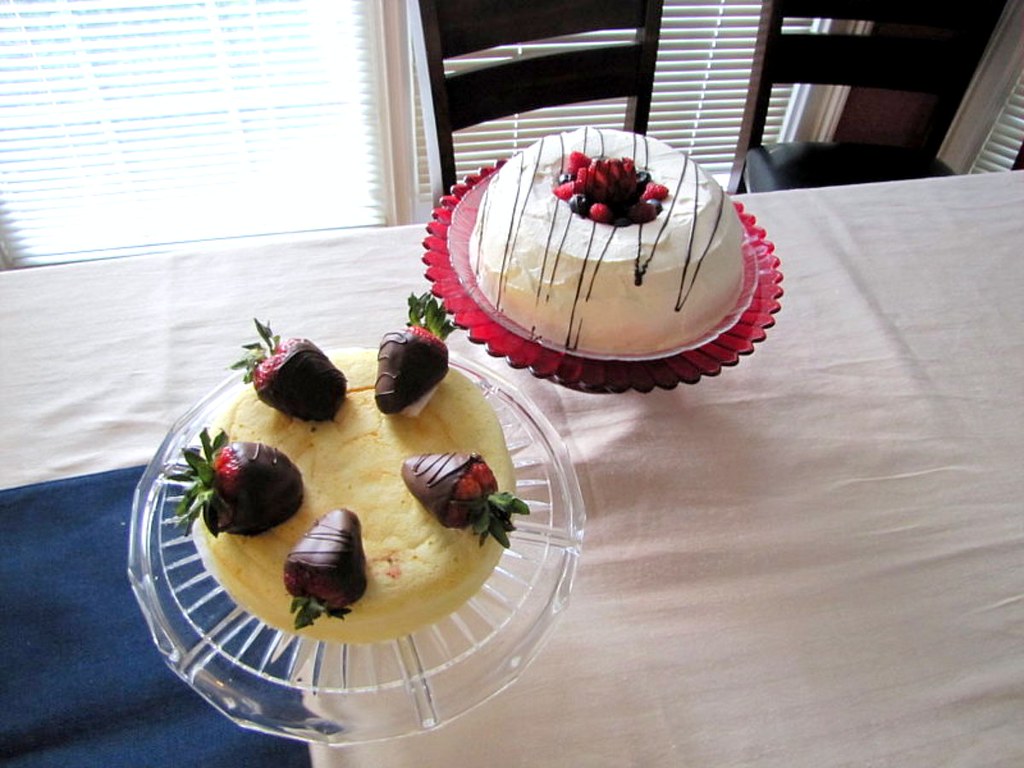
15.) To create an even surface, I used a serrated knife to trim the browned top and sides of the cake. Decorate as you desire. Berries look especially pretty with this light and fluffy cake!
To convey the texture :D!

No comments:
Post a Comment